Sterilization indicators help teams check whether a process reached specified conditions, but they do not all provide the same evidence. In 2026, quality-control programs commonly use physical monitors, chemical indicators, and biological indicators. Each has a different role. Temperature and pressure records show cycle conditions. Chemical indicators reveal exposure to selected process variables. Biological indicators assess whether highly resistant microorganisms were inactivated under defined conditions. No single indicator answers every question.
How do sterilization indicators help in quality control? They provide documented checkpoints that can reveal missed exposures, equipment variation, or handling errors. For example, a chemical strip inside a package can show whether sterilant reached that location. It cannot, by itself, prove the contents are sterile. That distinction matters. Staff should interpret results alongside cycle records, load configuration, indicator instructions, and validated procedures. The right choice depends on the sterilization method, the items being processed, and the risk involved. A clear review process also defines who checks results and what happens when an indicator fails. Small details count: a misplaced strip or an unreadable label can weaken the record. Indicators are useful, but not magic. This guide compares leading indicator types, explains their strengths and limits, and outlines practical selection points for dependable quality control. Some workflows still rely on habits that deserve a closer look.
What Sterilization Indicators Measure in Quality Control
2026 Top Sterilization Indicator Types for Quality Control?
What Sterilization Indicators Measure in Quality Control
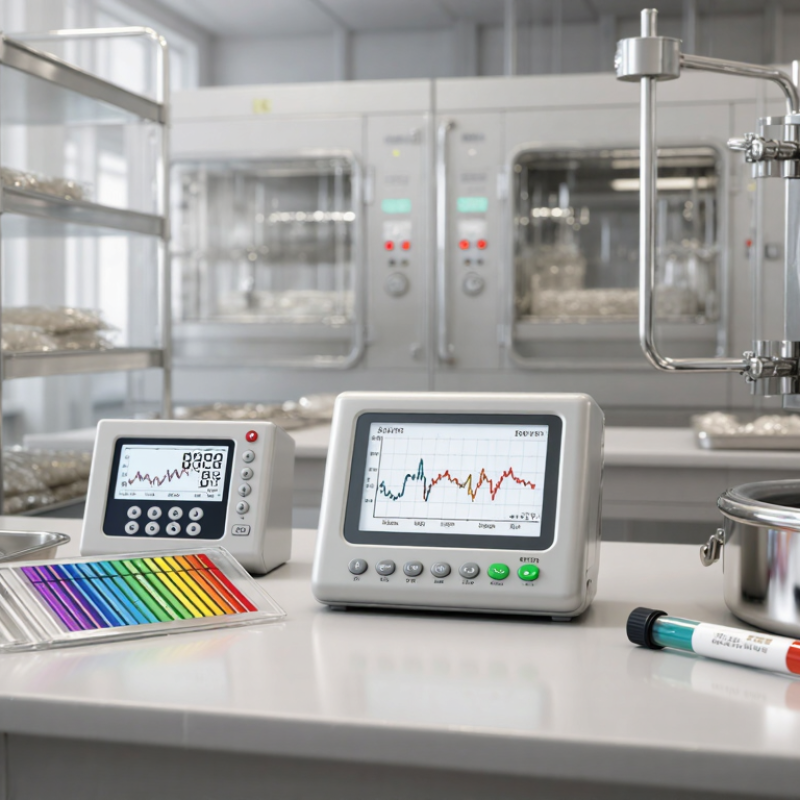
Sterilization indicators measure different parts of the process, not a single guarantee of sterility. Physical monitors record cycle conditions, such as temperature, pressure, and exposure time. Chemical indicators respond to defined process conditions, often through a visible color change on a package or inside a tray. That distinction matters. Color is not proof.
Biological indicators test whether a sterilization process can inactivate resistant microorganisms, commonly bacterial spores. The CDC’s Guideline for Disinfection and Sterilization in Healthcare Facilities recommends biological monitoring at least weekly and with every load containing implantable items. When feasible, those items should remain unused until the test result is negative. This frequency gives teams a practical check beyond a printed cycle record.
For quality control, compare indicator results with the sterilizer’s physical readings and the package’s chemical indicator. A darkened strip beside a dry instrument set is useful evidence, but it cannot confirm that every surface received adequate exposure. Staff should document results, investigate unexpected changes, and review loading practices. A neat color change can still mislead. Indicator limits and interpretation should follow the relevant ISO 11140 or ISO 11138 requirements and the device instructions. The small detail matters: a misplaced internal indicator may tell a different story from one positioned near the hardest-to-reach instrument.
2026 Top Sterilization Indicator Types for Quality Control
What sterilization indicators measure: a comparison of the defining role of each ISO 11140-1 indicator type.
This chart is a qualitative classification, not a performance score. A value of 1 marks a defining role; 0 means it is not the type’s defining role. Type 1 indicates process exposure, Type 2 is intended for a specific test, Types 3–5 respond to one or more critical variables, and Type 6 emulates a specified cycle. Chemical indicators show exposure to specified conditions; they do not, by themselves, prove sterility.
How Physical and Chemical Indicators Monitor Sterilization Cycles
Physical and chemical indicators offer different views of a sterilization cycle. Physical monitors record conditions such as temperature, pressure, and exposure time. Staff can compare these readings with the cycle’s validated requirements and document any unusual change. A pressure display may look steady, yet a brief temperature drop still deserves attention. Small details matter.
Chemical indicators respond to defined process conditions. External indicator tape can show that a package entered a cycle, while an internal indicator helps assess conditions inside the pack. Their color change is useful evidence, but it does not prove that an item is sterile. Read the indicator instructions carefully; response patterns differ by type and intended use. No shortcut here.
Review the physical record and chemical results together. If a pack’s internal indicator has not changed as expected, hold it for assessment rather than assuming the machine record settles the question. A tidy chart can still hide a loading problem, and staff can misread a color under poor lighting. That is an imperfect part of routine work. Consistent placement, clear documentation, and trained interpretation make the evidence more dependable.
How Biological Indicators Confirm Microbial Inactivation
Biological indicators provide the strongest direct check that a sterilization process can inactivate resistant microbes. They contain bacterial spores selected for resistance to a specific method. For steam sterilization, the common challenge organism is Geobacillus stearothermophilus. After a cycle, staff incubate the processed indicator and an unprocessed control. Growth in the test indicator signals a possible process failure; no growth supports microbial inactivation under the tested conditions. That distinction matters. A negative result does not prove every item in the load is sterile.
The CDC’s Guideline for Disinfection and Sterilization in Healthcare Facilities recommends biological monitoring at least weekly and for every load containing implants, whenever possible. AAMI ST79 also addresses routine monitoring and implant loads. These recommendations make BI results part of a documented quality-control routine, not a substitute for checking cycle records, packaging, and loading practices. In a busy reprocessing room, a labeled test pack and a recorded incubator result can help link evidence to a specific cycle. Still, one weak point deserves attention: staff may treat “no growth” as a complete guarantee. It is evidence, not a magic stamp. Follow the indicator’s instructions and investigate any positive result before releasing affected items.
How Indicator Types Differ Across Sterilization Methods
Sterilization indicators are not interchangeable; each responds to a different process. In steam cycles, chemical indicators show exposure to conditions such as heat, while biological indicators use resistant spores to challenge microbial kill. For ethylene oxide, indicators must be suited to that gas process; hydrogen peroxide systems also require compatible indicators. Dry heat has its own process-specific options. ISO 11140-1 classifies chemical indicators into six types by intended use and performance, not as a simple ranking of quality.
The CDC’s 2008 Guideline for Disinfection and Sterilization recommends biological monitoring at least weekly for each sterilizer, and for every load containing implants, whenever possible. That is a practical benchmark, not proof that one indicator can replace another. ISO 11138 parts specify biological indicator requirements for different sterilization processes, including steam, ethylene oxide, and low-temperature processes. Match the indicator to the cycle, then interpret results alongside cycle records and package checks. A color change alone cannot confirm sterility.
Tips: Place internal chemical indicators where steam or gas penetration may be hardest, such as the center of a wrapped tray. Review the manufacturer’s instructions and your facility’s validated process. Keep records of indicator results and investigate any failure before releasing affected items. Small details matter. I still find indicator selection easy to oversimplify: the best choice depends on the method, load, and monitoring plan.
2026 Top Sterilization Indicator Types for Quality Control: How Indicator Types Differ Across Sterilization Methods
How chemical indicator types differ: Under ISO 11140-1, Type 1 indicators distinguish processed from unprocessed items; Type 2 indicators are for specific tests; Type 3 respond to one critical variable; Type 4 respond to multiple critical variables; Type 5 are integrating indicators; and Type 6 are emulating indicators designed for specified cycles. A chemical indicator response does not by itself prove sterility, and no indicator replaces the required validation, monitoring, or release procedures.
How to Select and Use Indicators for Routine Quality Control
Routine quality control begins with matching each indicator to the sterilization method and the question being asked. Chemical indicators show exposure to selected process conditions; biological indicators challenge the process with resistant spores. A multi-parameter integrator can provide a useful chemical check, but it does not replace biological monitoring. External indicators help distinguish processed packs from unprocessed ones, while internal indicators reveal conditions inside packaging. Place them where sterilant access may be difficult. Small details matter.
For routine checks, choose indicators labeled for the exact cycle and follow their instructions for use. A color change alone does not prove sterility. Place internal indicators in representative, challenging locations, rather than near the package opening by habit. Align biological and chemical monitoring with facility policy, equipment instructions, and applicable guidance. Record the load ID, cycle, indicator lot, placement, result, and operator.
If a result fails or looks unclear, pause and investigate instead of repeating the test until it passes. Review cycle records, loading patterns, packaging, and maintenance history. Handle affected items according to facility policy. One indicator samples a location, not every surface in every pack. That limitation is easy to overlook. Tracking borderline results and recurring trends can help staff spot process drift before it becomes a larger problem.
FAQS
They record conditions such as temperature, pressure, and exposure time. A brief temperature drop still deserves attention.
External tape can show that a package entered a cycle. It does not confirm sterility.
It helps assess conditions inside a pack. Read its instructions carefully; response patterns vary.
No. It provides evidence about process conditions, not proof that an item is sterile.
Hold the pack for assessment. A tidy cycle record may still hide a loading problem.
They contain resistant bacterial spores. Staff incubate the processed indicator and an unprocessed control after the cycle.
It signals a possible process failure. Investigate the result before releasing affected items.
No. It supports microbial inactivation under tested conditions, but it is not a guarantee.
Guidance recommends at least weekly, and whenever possible for every load containing implants. Record each result.
Physical records, chemical indicators, packaging, and loading practices provide complementary evidence. Poor lighting can still lead to misread colors.
Conclusion
Sterilization indicators support quality control by showing whether key conditions in a sterilization cycle were reached and whether the process performed as intended. How do sterilization indicators help in quality control? Physical indicators record cycle parameters such as time, temperature, and pressure, while chemical indicators respond to defined exposure conditions. These results help staff identify incomplete or irregular cycles, but they do not all provide the same level of evidence.
Biological indicators use resistant microorganisms to assess whether a cycle can achieve microbial inactivation. Indicator selection depends on the sterilization method, the items being processed, and the purpose of monitoring. For routine quality control, indicators should be used according to their instructions, placed appropriately, and interpreted alongside cycle records and other checks. Combining suitable indicator types provides a more complete view of process performance and helps support consistent, documented decisions about sterilization effectiveness.

 Jalil Medical